The process of designing a wrap for a vehicle differs from creating an advertisement or social media content. Designs for wraps should be designed to fit actual automobiles, be in line with body curvatures, and be printed in a perfect manner at a huge size. A small error could result in waste of vinyl, printing reprints, and dissatisfied clients.
In this comprehensive tutorial, you’ll discover how to create an attractive vehicle wrap that is print-ready from beginning to end, no matter if you’re just starting out or an experienced professional who works with print shops.
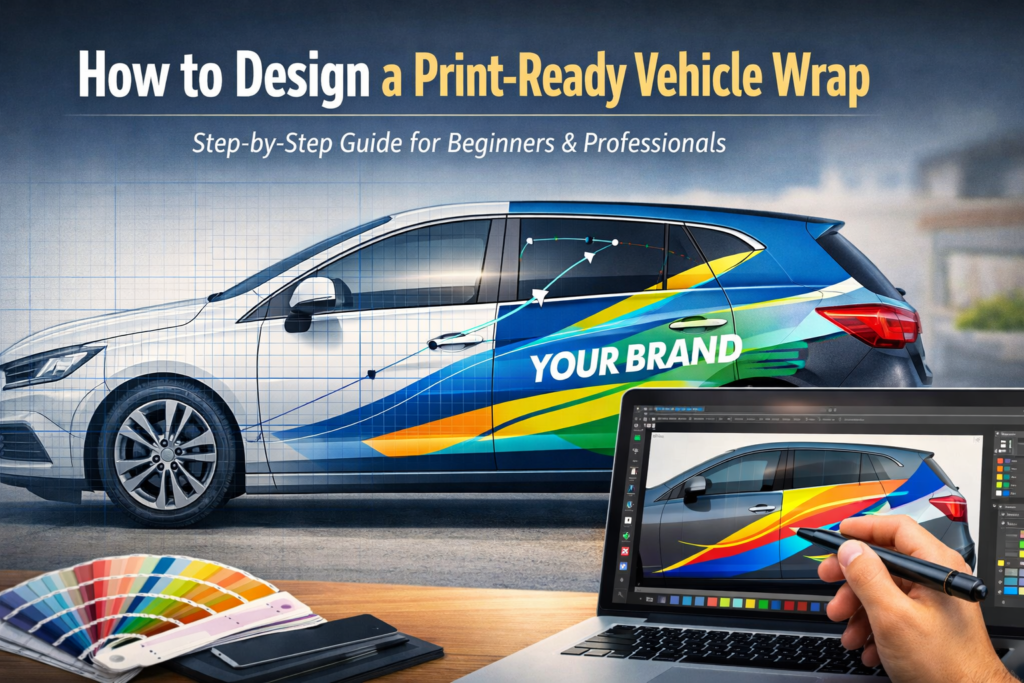
What Does “Print-Ready Vehicle Wrap Design” Mean?
Print-ready wrap designs are a design file
- It is precisely matched to the car
- Make sure you use the correct measurements and scale.
- Includes bleeds and areas that are safe
- Conforms to printer and installation requirements
- No corrections are required prior to printing.
Print-ready designs can save both time and money, as well as the frustration of everyone.
Step 1: Choose the Correct Vehicle Wrap Template
Each successful wrap begins by creating a precise, specific template for the vehicle.
Why the Right Template Matters
- The vehicles are different based on model and the time of year.
- Dimensions for windows, door sizes, and body lines vary
- Incorrect templates cause alignment errors
Recommended Template Formats
- AI (Adobe Illustrator)
- EPS
- PDF (vector-based)
- SVG (optional to cut workflows)
Always verify the specific vehicle’s model and year prior to designing.
Step 2: Set Up Your Design File Correctly
When you design your document, it should be properly prepared.
Document Setup Tips
- Make use of all-scale (1:1) whenever possible
- Change color mode to Set color mode to CMYK
- Utilize high-resolution photos (minimum 150-300 DPI in scale)
- Secure the template layer to stop accidental changes
A proper setup will ensure precise output when printing.
Step 3: Understand Bleed, Safe Zones & Cut Areas
This process is crucial to achieve professional results.
Bleed Area
Bleeding creates a design room over the edges, so that nothing is damaged when installing.
Safe Zone
Keep:
- Logos
- Telephone numbers
- Important text
Free of door seams away from edges, curves, and seams.
Cut Lines
Don’t place any key components directly on the panel or cut lines.
Professional templates mark the areas to be used. Use them sensibly.
Step 4: Design With Vehicle Curves in Mind
The vehicles aren’t billboards that can be flat.
Avoid These Mistakes
- Place faces on the seams of doors
- Text running across curves that are deep
- Aligning logos over handles
Best Practices
- Make sure to keep the main elements on flat panels
- Apply textures or gradients to seams
- Doors are split in a way that has designs with splits
The design process that incorporates curves increases the efficiency of installations.
Step 5: Choose Colors That Print Well on Vinyl
Screens that look good might not translate into the exact same print.
Color Tips
- Do not choose designs with a dark hue that obscures details
- Make use of high-contrast colors for reading
- Do not use neon RGB color (they don’t print as accurately)
- Always design in CMYK
If you can, ask for If you can, request a tiny test print before committing to a full-scale production.
Step 6: Typography Rules for Vehicle Wraps
Typography is among the most frequent wrap-related failures.
Font Size Matters
The message you send must be read from a distance, and at the speed.
Best Font Practices
- Utilize bold, clear fonts
- Do not use script fonts that are thin.
- Keep fonts to 1 or 2 families
- Make sure you have enough space for better readability
If it can’t able to be read in three seconds, it won’t be converted.
Step 7: Image Quality & Resolution
Images of poor quality make wraps look unprofessional.
Image Requirements
- Only high-resolution images
- Do not use stock images that are compressed.
- The images are not stretched or pixelated.
When wrapping large-sized wraps, images are more crucial than size.
Step 8: Convert Text to Outlines
Before you send files to print:
- Convert all text into an outline
- Take off layers that are not needed
- Include or outline graphics
This will prevent font problems during printing.
Step 9: Check File Compatibility With the Print Shop
Every printing shop has its own needs.
Confirm These Details
- Format of preferred file
- Color profile
- Size of Bleed
- Maximum file size
Communication that is clear and concise can help avoid expensive revisions.
Step 10: Export the Final Print-Ready File
Recommended Export Settings
- PDF/X-1a or PDF/X-4
- Quality output
- Images are not compressed.
- Correct scale maintained
Be sure to check the file exported prior to submitting.
Common Vehicle Wrap Design Mistakes to Avoid
The process of designing without a template
Ignoring door seams
Using low-resolution images
Forgetting bleed margins
Contact details should be placed in risky zones.
The simple act of avoiding these mistakes immediately improves professionalism.
Who Benefits From This Workflow?
Designers
- Quicker approvals
- Less revisions
- Better customer satisfaction
Print Shops
- Fewer errors
- Smooth production
- Better installation results
Installers
- A lesser amount of stretching
- Installations that are faster
- More polished and cleaner
Free vs Professional Tools for Wrap Design
Free Tools
Excellent to learn
Limited precision
Professional Tools
Adobe Illustrator
CorelDRAW
Affinity Designer
Professional tools assure the accuracy and compatibility.
SEO Value for Designers & Template Sellers
This subject is very popular with respect to:
- How do you design a vehicle wrap
- Print-ready wrap design
- Vehicle wrap design guide
- Car wrap design tutorial
The authority of blogs on educational topics can draw in buyers.
FAQs About Print-Ready Wrap Design
Can beginners design vehicle wraps?
Yes, but with the right template and instructions.
Is Illustrator required?
It’s a good idea, but different vector tools are also able to work.
Do I require experience as an installer?
No, but understanding installation improves design quality.
Final Thoughts
The creation of a printed vehicle wrap is more than just creativity. It demands planning, precision, as well as technical knowledge.
If you follow a planned procedure, you’ll be able:
- Beware of costly errors
- Create professional-grade designs
- Establish trust with printers and customers
If you create wraps for customers or even sell online templates, mastering this technique is a way to differentiate yourself.