Installing a kitchen range hood can feel overwhelming for many homeowners, especially when dealing with ductwork, electrical connections, and ensuring proper ventilation. The challenge intensifies when you’re trying to balance functionality with aesthetics while working within your kitchen’s existing layout. However, choosing a ducted range hood with a filter-free system can transform this daunting task into a manageable DIY project that delivers professional results.
Ducted range hoods offer superior ventilation by expelling cooking fumes, smoke, and odors directly outside your home rather than recirculating them. When combined with filter-free technology, these systems eliminate the hassle of cleaning or replacing greasy mesh filters, reducing maintenance while maintaining peak performance. This guide walks you through each step of the installation process, from understanding airflow requirements to making final adjustments, empowering you to upgrade your kitchen ventilation with confidence and achieve a cleaner, more efficient cooking environment.
Understanding CFM Requirements
CFM, or Cubic Feet per Minute, measures the volume of air your range hood can move, directly impacting how effectively it removes cooking byproducts from your kitchen. Selecting the right CFM rating ensures your ventilation system matches your cooking intensity and kitchen size, preventing smoke buildup and lingering odors.
For standard home cooking with occasional sautéing and boiling, a range hood with 300-400 CFM typically suffices. If you frequently prepare Asian cuisine with high-heat wok cooking, sear steaks, or use multiple burners simultaneously, you’ll need 600-900 CFM to handle the increased smoke and steam production. Professional-grade ranges or those exceeding 60,000 BTUs demand even higher CFM ratings, often reaching 1,200 or more.
Calculate your minimum CFM requirement using this simple formula: multiply your range’s BTU output by 0.01 for gas stoves, or use 100 CFM per linear foot of cooktop width for electric ranges. A 36-inch electric cooktop would require at least 300 CFM. However, factor in ductwork length and bends—each 90-degree elbow reduces efficiency by roughly 25 CFM, while every ten feet of ducting decreases performance similarly. If your duct run includes three elbows and extends twenty feet, add approximately 125 CFM to your base requirement.
Kitchen size also matters. Multiply your kitchen’s cubic footage by 15 air changes per hour, then divide by 60 minutes to determine adequate ventilation. A 12×15-foot kitchen with 8-foot ceilings needs approximately 360 CFM. Always choose a hood that slightly exceeds your calculated needs, as running it at medium speed operates more quietly than maxing out a lower-capacity unit while delivering comparable performance.
Preparing for Installation
Gathering the right tools and materials before starting prevents mid-project interruptions and ensures a smooth installation process. Begin with a cordless drill equipped with both Phillips and flat-head bits, along with a hole saw attachment sized to match your ductwork diameter—typically six or eight inches. You’ll need a measuring tape, carpenter’s level, stud finder, and pencil for marking mounting points accurately on walls and cabinets.
Your range hood kit should include the main unit, mounting brackets, screws, and installation template. Purchase additional materials separately: rigid or flexible aluminum ducting, duct tape rated for HVAC applications, metal foil tape for securing connections, and a duct cap with exterior louvers. If your installation requires electrical work beyond plugging into an existing outlet, have wire nuts, electrical tape, and cable appropriate for your local building codes on hand.
Safety equipment matters as much as installation tools. Wear safety glasses when drilling overhead, work gloves when handling metal ducting with sharp edges, and a dust mask if cutting through drywall or insulation. Keep a stepladder or sturdy platform nearby that provides comfortable reach to your work area without overextending. Having a helper available makes positioning and securing the hood significantly easier, particularly for heavier units weighing thirty pounds or more. Lay out all components before beginning to verify nothing is missing from your kit.
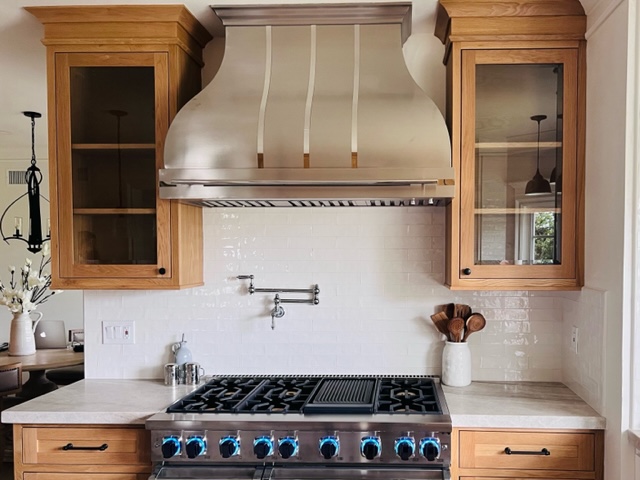
Choosing the Right Location
Proper placement of your ducted range hood determines both its ventilation effectiveness and your kitchen’s overall functionality. The ideal location balances accessibility, aesthetic appeal, and technical requirements that maximize airflow while meeting building code standards.
Mount your range hood between 24 and 30 inches above electric cooktops, or 28 to 36 inches above gas ranges. This height range captures rising cooking vapors efficiently without interfering with your workspace or creating a head-bumping hazard. Taller cooks may prefer the upper end of this range, while those who frequently use tall stockpots should consider the clearance needed. Your range hood should extend at least three inches beyond each side of your cooktop to create an effective capture zone—a 30-inch range typically pairs with a 36-inch hood.
Evaluate your ductwork path before finalizing the location. The shortest, straightest route to an exterior wall delivers optimal performance, as each turn and additional foot of ducting reduces airflow efficiency. Ideally, position the hood on an exterior wall to minimize duct length, or choose a location where the duct run avoids major structural obstacles like support beams or plumbing. Check your attic or basement to identify the clearest path and verify that your chosen exit point won’t discharge directly toward windows, doors, or air intake vents.
Use the manufacturer’s installation template to mark mounting holes on your wall or cabinet bottom, ensuring the hood centers precisely over your cooktop. A carpenter’s level confirms the template sits perfectly horizontal—even slight tilting affects both appearance and condensation drainage within the hood.
Installing the Ducting
Ducting installation forms the foundation of your range hood’s performance, requiring careful planning and precise execution to create an airtight pathway that efficiently expels cooking byproducts outside. Begin by determining your duct route from the hood’s exhaust port to the exterior wall or roof, choosing the path with the fewest turns and shortest distance possible.
Mark your exit point on the exterior wall, ensuring it sits at least twelve inches from any windows, doors, or soffit vents to prevent discharged air from re-entering your home. From inside, drill a pilot hole through the wall at your marked location, then move outside to verify the exit point clears any obstacles like electrical boxes or siding seams. Using a hole saw matching your duct diameter—typically six or eight inches—cut through the exterior wall from outside to minimize interior mess and create cleaner edges. If cutting through brick or stucco, work slowly with a masonry bit to prevent cracking.
Install the exterior vent cap immediately after cutting, applying a generous bead of exterior-grade caulk around the opening’s perimeter before securing the cap with corrosion-resistant screws. The cap’s damper should open freely and close completely when not in use, preventing backdrafts and pest entry. Ensure the louvers angle downward to shed rain effectively.
Inside your kitchen, assemble your duct run working backward from the exterior vent toward the range hood location. Rigid metal ducting delivers superior airflow compared to flexible alternatives, though flexible ducts work well for short runs or tight spaces requiring curves. Cut duct sections to length using tin snips, wearing gloves to protect against sharp edges. Connect sections by sliding the crimped end of one piece into the uncrimped end of the next, overlapping by at least two inches.
Secure each connection with three evenly-spaced sheet metal screws, then wrap completely with metal foil tape—not standard duct tape, which deteriorates from heat and moisture. Metal foil tape creates airtight seals that maintain system efficiency for years. Support horizontal duct runs every four feet using metal strapping attached to ceiling joists or wall studs, preventing sagging that creates low spots where grease and moisture accumulate.
When turns are unavoidable, use two 45-degree elbows instead of a single 90-degree bend whenever possible, as gradual direction changes maintain better airflow. Minimize the total number of elbows to three or fewer in your entire duct run. Leave the final connection to your range hood’s exhaust port unsealed temporarily, allowing adjustment once you mount the hood itself. Test-fit this connection to confirm proper alignment before proceeding to hood installation.
Connecting the Range Hood
With your ductwork securely in place, mounting and connecting the range hood completes the ventilation system. Begin by enlisting a helper to support the hood’s weight during installation, as most units weigh between thirty and fifty pounds and require precise positioning while you secure mounting hardware.
Locate the wall studs or cabinet frame using your stud finder, marking their positions to align with your hood’s mounting brackets. Most range hoods include a paper template showing exact drilling locations—tape this template level on the wall, transfer the marks with a pencil, then drill pilot holes at each point. Install the mounting brackets using the provided screws, ensuring they’re driven into solid wood studs or blocking rather than just drywall. For cabinet-mounted installations, attach brackets to the cabinet bottom using wood screws that penetrate at least one inch into solid material.
Before lifting the hood into position, handle electrical connections. If your hood uses a standard plug, verify an outlet exists within the cord’s reach, typically inside the cabinet above. For hardwired installations, turn off power at the circuit breaker and use a voltage tester to confirm electricity is off. Remove the hood’s electrical access panel, feed the house wiring through the designated knockout hole, and connect matching wires using wire nuts—black to black, white to white, and green or bare copper to the ground screw. Secure the cable with the provided strain relief clamp and replace the access panel.
Lift the hood onto its mounting brackets, aligning the exhaust port with your duct opening. Slide the duct’s crimped end over the hood’s exhaust collar, overlapping by two inches, then secure with sheet metal screws and wrap completely with metal foil tape to create an airtight seal. Install any remaining mounting screws through the hood into the brackets or cabinet, checking with your level one final time to ensure perfect horizontal alignment. Attach the hood’s decorative chimney or cover pieces according to manufacturer instructions, concealing the ductwork and completing the installation’s professional appearance.
Filter-Free Excellence
Filter-free range hoods revolutionize kitchen ventilation by eliminating traditional mesh filters that trap grease and require constant cleaning. Instead of using baffle or mesh screens, these systems employ centrifugal separation technology that spins cooking vapors at high speeds, forcing grease particles outward where they collect in a removable cup or tray. This design maintains powerful suction without the airflow restriction caused by clogged filters, ensuring consistent performance between cleanings.
The maintenance advantages are substantial. Traditional range hoods demand filter cleaning every two to four weeks depending on cooking frequency, involving soaking in degreaser and scrubbing stubborn residue. Filter-free models reduce this to simply wiping down the collection cup monthly and occasionally cleaning the interior surfaces with a damp cloth. This simplicity saves hours of maintenance time annually while eliminating the expense of replacement filters that can cost thirty to sixty dollars each.
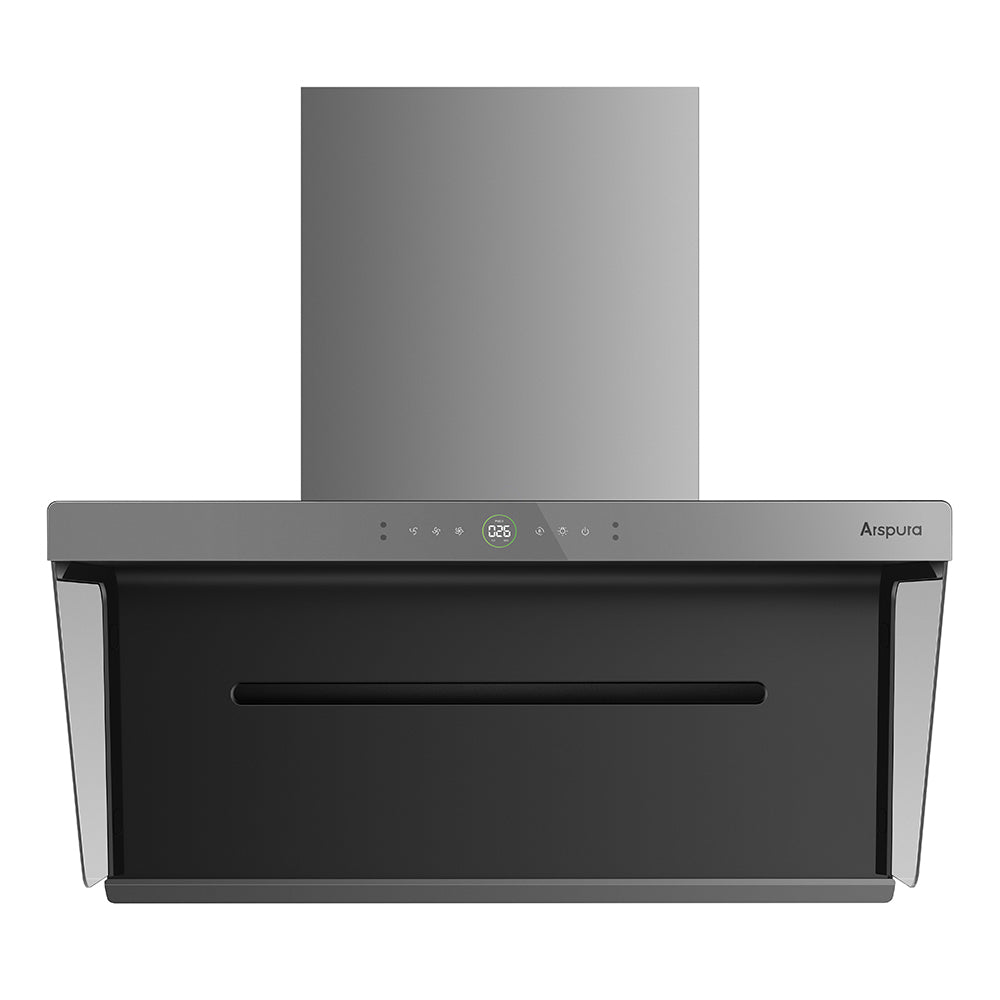
When selecting a filter-free ducted range hood, prioritize models with stainless steel construction for durability and easy cleaning. Look for units with multiple fan speeds that allow you to match ventilation intensity to your cooking method—low speeds for simmering, high speeds for searing or frying. LED lighting provides bright, energy-efficient illumination of your cooktop while generating minimal heat. Verify the hood’s CFM rating matches your calculated requirements and that its width adequately covers your cooking surface. Quality filter-free models from manufacturers like Arspura typically include quieter operation due to improved airflow dynamics, with noise levels below three sones at medium speed providing comfortable conversation during meal preparation.
Testing and Final Adjustments
After completing the installation, restore power at the circuit breaker and conduct a thorough test of your range hood’s performance. Turn on the unit at its lowest speed setting first, listening for unusual rattling or vibration that might indicate loose ductwork connections or mounting hardware. Place your hand near the exterior vent cap to confirm strong, steady airflow exits the system. Gradually increase fan speeds, verifying that airflow intensifies proportionally and noise levels remain acceptable at each setting.
Test the hood’s capture efficiency by boiling water on your cooktop and observing how effectively steam gets drawn upward and expelled. If steam escapes around the hood’s edges, your CFM rating may be insufficient for your cooking intensity, or ductwork restrictions could be limiting performance. Check all duct connections for air leaks by running your hand along seams while the fan operates—any escaping air indicates inadequate sealing that requires additional metal foil tape.
Make final adjustments to optimize performance. If airflow seems weak despite proper installation, verify the exterior vent cap’s damper opens fully when the fan runs. Adjust the hood’s height if necessary, lowering it slightly to improve vapor capture without creating workspace interference. Confirm all mounting screws are tightened securely and the unit sits perfectly level to ensure proper condensation drainage within the hood’s interior channels.
Achieving Professional-Quality Kitchen Ventilation
Successfully installing a ducted range hood with filter-free technology transforms your kitchen into a cleaner, more efficient cooking space while building valuable home improvement skills. By carefully calculating CFM requirements, planning your ductwork route, and following systematic installation steps, you’ve created a ventilation system that expels cooking byproducts directly outside rather than recirculating them through your home. The filter-free design you’ve chosen eliminates the ongoing hassle of cleaning mesh filters, reducing maintenance to simple monthly wipe-downs while maintaining consistent, powerful performance.
Remember that proper planning determines installation success more than any other factor. Taking time to measure accurately, select the optimal location, and create the shortest duct run with minimal turns pays dividends in long-term performance and reliability. Your attention to sealing every connection with metal foil tape and securing ductwork properly ensures efficient operation for years ahead. This DIY project not only saves professional installation costs but also gives you intimate knowledge of your ventilation system, making future maintenance and troubleshooting straightforward. Enjoy your upgraded kitchen ventilation and the confidence that comes from completing a complex home improvement project with professional-quality results.